How to Build & Launch Your mbird Store in 30 Minutes
Ready to set up your mbird Store and start earning fast? This guide will walk you through everything you need to launch in under 30 minutes — from customizing your design to adding your first product and sharing your link.
🎨 Step 1 — Customize Your Store Profile
Start by personalizing your mbird Store so it reflects you.
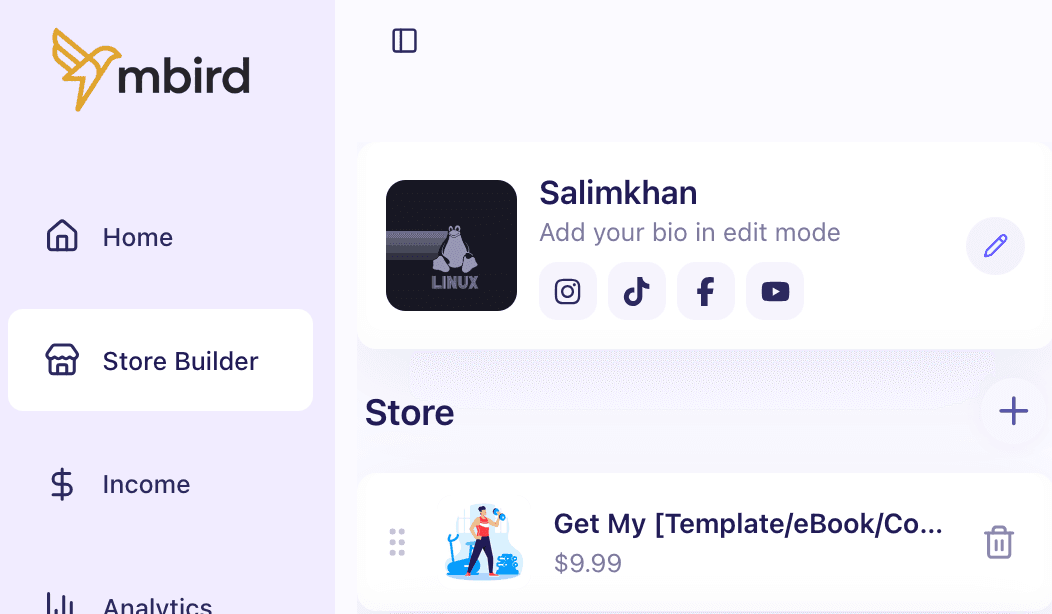
In the left sidebar, click Store Builder. You'll see your store preview and a profile card with a pencil icon — click it to open the header editor. From here you can:
- Upload your profile photo.
- Set your Display Name and Username (this becomes your store URL:
mbird.store/yourusername). - Write your Bio.
- Add your social media handles — Instagram, TikTok, Facebook, YouTube, X (Twitter), Pinterest, LinkedIn, Spotify, Discord, and more.
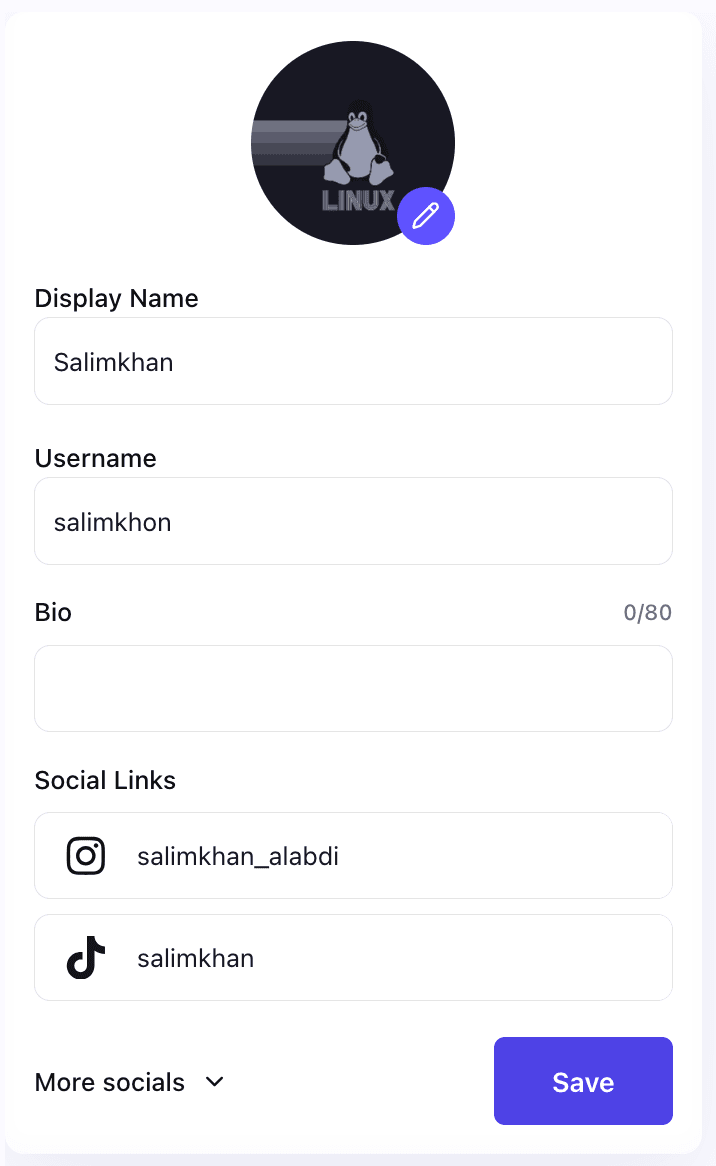
Make sure to hit Save before moving on!
🖌️ Step 2 — Choose Your Store Design
In the Store Builder, click the Edit Design button at the top to open the theme editor. You can pick from beautiful pre-built themes and customize:
- Theme — choose a look that matches your brand (light, dark, vibrant, minimal).
- Colors — override the shell, card, and button colors with your own hex values.
- Font — pick a font that suits your style.
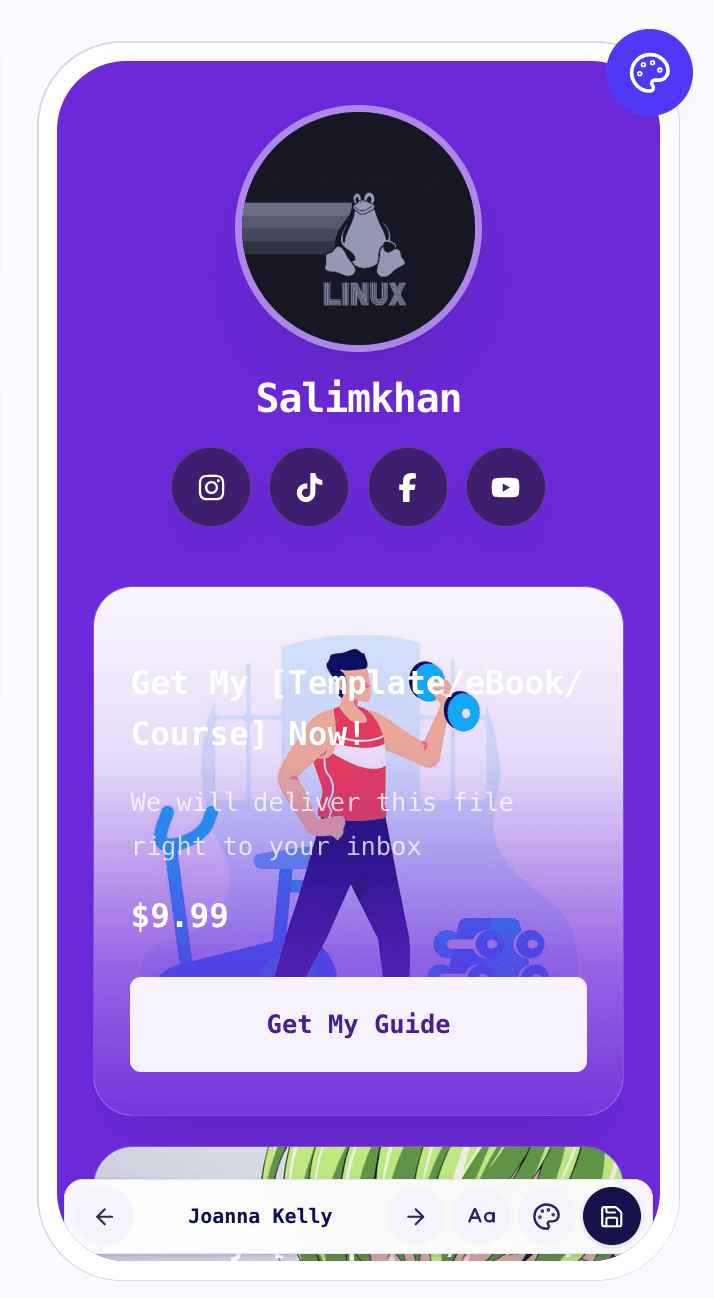
Preview all changes live on the mobile display on the right side of the screen. When you're happy, click Save.
📦 Step 3 — Add Your First Digital Product
mbird currently supports Digital Products — files or resources you sell to your audience. Great examples include:
- eBooks & PDFs — guides, cheat sheets, templates, playbooks.
- Preset Packs — Lightroom presets, Canva templates, Notion systems.
- Audio Files — meditation tracks, beats, podcast intros.
- Video Tutorials — recorded lessons, walkthroughs, mini-courses.
- Any downloadable file you've created.
To add a product, click the + button in the Store section of the Store Builder, then select Digital Product. Fill in:
- Title and Subtitle — what your product is.
- Description — sell the value in a few lines.
- Price — set to $0 for a free lead magnet, or your selling price.
- Product file — upload your PDF, ZIP, or other file (or redirect to a URL).
- Thumbnail image — a great cover image increases conversions.
When ready, click Publish to make it live on your store immediately.
📧 Step 4 — Build Your Email List with a Free Product
A great strategy is to also add a free product(priced at $0) — a quick checklist, mini-guide, or sample chapter. mbird automatically collects the buyer's email at checkout, turning every download into a lead.
- Set the price to $0.
- mbird collects the buyer's email automatically at checkout.
- Use that email list to promote your paid products later.
✅ Pre-Launch Checklist
Before you share your store, make sure:
- Profile photo uploaded and bio written.
- Username is set (e.g., mbird.store/yourname).
- At least one product is published and priced correctly.
- Payment method connected in Settings.
- Store theme and colors look great in the mobile preview.
- Social media links added to your profile header.
🚀 Share Your Store
Your store is only as good as the traffic you send to it. Here's where to add your link:
- Instagram bio — the #1 source of traffic for most creators.
- TikTok bio — add as a Business account link.
- YouTube description — pin in your About section.
- X (Twitter) bio — one link goes a long way.
- Pinterest profile — great for visual products.
💸 Getting Your First Sale
The fastest way to get your first sale is to tell people about it. Post a Story, send a message to 10 followers, or create a short video showing what's inside your product.
- Post a "just launched" Story with your store link.
- Offer a limited-time discount to create urgency.
- Message 10 people personally and share the link.
- Use your free product to collect emails, then follow up with your paid offer.